
Summary Layout
- Equipe Produit

- Apr 15
- 4 min read
The summary layout is a new way to display information from a submission. It addresses four major needs.
The need to display a summary of your submission on a single page. Ideal for longer forms.
The need to display fields from child submissions without having to enter the child submission itself.
The need to access, from a child submission, the parent submission that refers to it.
The need to display metadata for your submission (creation date, user who created it, etc.)

Configure your summary layout
a. Access
To open the summary layout builder, go to the form editor. You will find a "Summary layout" button in the top right corner of the screen.

You will arrive at the builder of your summary layout

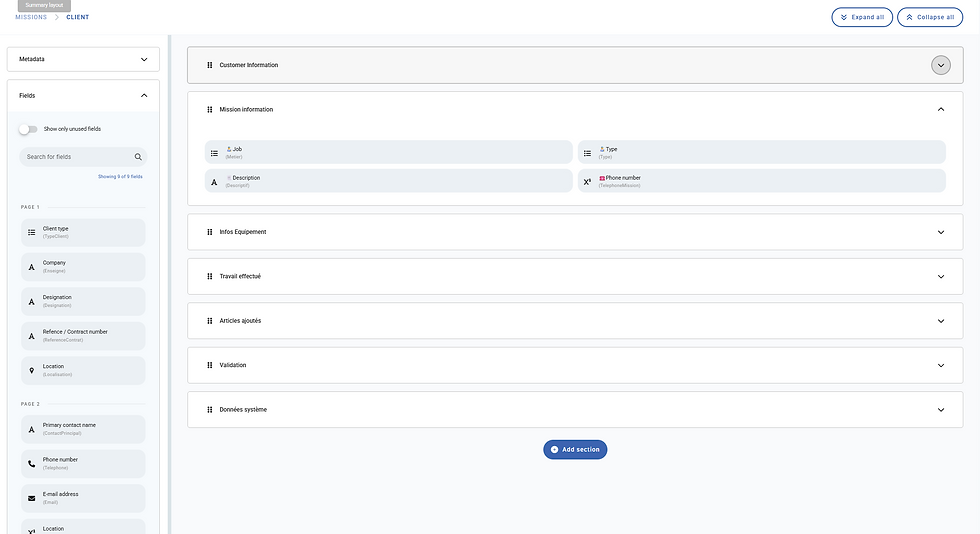
The interface consists of
Metadata selector
Field selector
Field layout configuration area
Section & field settings panel
Simply drag and drop the information you want to display onto the central panel, into a section. It is not possible to place information outside of a section.
The sections are limited to only 2 columns in order to ensure good readability on mobile devices.
b. Metadata selector
The metadata selector allows you to select the following elements

If your form has a workflow, you will also be able to choose the workflow state.
If the task template is enabled, you will also be able to choose the information related to the tasks.
If your form has parent relationships, these will also be placed in the metadata tab.
c. Field selector
The field selector allows you to choose the fields of your form. All field types are compatible with this display mode.
The fields are displayed in the order they appear in the form.
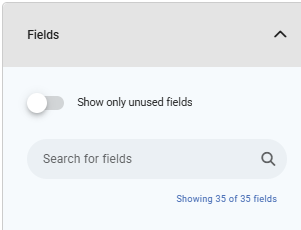
A banner allows you
To search for a field
Or to display only the fields that have not already been used in your summary
Note: It is possible to repeat fields in your summary. For example, in two different sections.
If your form has multiple pages, the fields will be grouped by page. Their label is displayed, along with their system name (on the second line, within the parentheses).

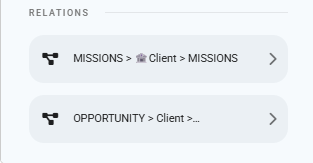
It is also possible to select fields from related forms. To do this, simply click on the arrow located to the right of a relation field.

The metadata and fields in the left sidebar will be replaced by those of the related form. A navigation bar is located in the top left corner of the screen to allow you to easily return to your original form ("Mission" in the screenshot below).

d. Field layout configuration space
Each section can be opened or closed as you wish using the buttons provided for this purpose, in order to facilitate the configuration of your summary.
You can reorder your sections by clicking on the icon to the left of the section title, then dragging and dropping. At the bottom of the screen, there is an "Add a section" button.
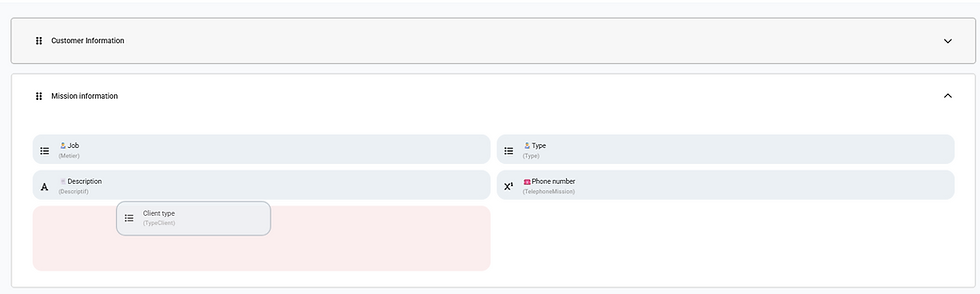
Within a section, you can reorder the fields by dragging them to the desired location.
e. Section & field settings panel
When you click on a section, you can use the panel on the right of your screen to configure it.

This will allow you
To name your section
To apply a visibility condition to it
Conditions must be built using the condition editor available in the standard form editor.
To duplicate or delete the section
Clicking on a field will display, in addition to the section settings, the settings specific to your fields.

You can choose a different label for your field, thus renaming it only for the summary layout.
You can choose whether the field should take up the full available width, or half. In the screenshot below, the first two fields have a width of 50%, the third has a width of 100%.

f. Activating the summary display
In the top right corner of your screen, you will find the following buttons
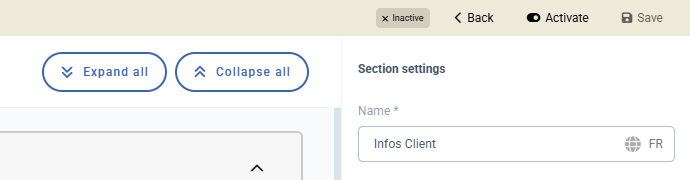
Back: Return to the standard form editor
Save: Allows you to save your summary without necessarily activating it. Your summary will then be saved as a draft until it is activated. An indicator will let you know if the version you see on the screen is a draft

Activate / Deactivate
Activate: You can activate your draft by clicking the “Activate” button. A window will open where you can choose which platforms you want to enable this view on (web, mobile, or both). Once enabled on a platform, every record generated from the form that includes the summary view will always open using that view. A button will be available to switch to the standard editor.

Deactivate: This button allows you to disable your summary view. This action will apply to all platforms where the summary view was enabled. If you want to disable this view on only one platform, you must first disable it for both platforms, then re-enable it on the desired platform. It is not possible to have different summary views between the web and mobile platforms.

Use the summary layout
When a form has an active summary layout, opening a submission from that form will open the summary, as you have configured it.

To navigate to the standard view, a "View Details" button allows you to switch to the standard layout. The "Edit" button also navigates to the standard layout, but in "Edit" mode.
In relationship fields, clicking on the relation will open the record in a new browser tab. If the related form also has a configured summary, this will open by default.
The summary layout is also available for mobile devices, and looks like this:

Limtations
The summary layout does not allow editing of the record. It is a read-only view.
If you configure a summary layout on a form, opening a record from that form will always be in summary layout by default. It is not possible to change this default behavior.
![[NFC] Selecting a relation via NFC](https://static.wixstatic.com/media/99cb50_8c780d05bcfe439195b8de839d1d99cc~mv2.png/v1/fill/w_561,h_421,al_c,q_85,enc_avif,quality_auto/99cb50_8c780d05bcfe439195b8de839d1d99cc~mv2.png)

